Prella Guide
Esthetician Home Studio Setup: Zoning, Sanitation, and Client Flow
Here's what your cosmetology program didn't teach you: a home studio isn't a compromise. For the right esthetician in the right situation, it's the most financially intelligent place to start. Zero rent, zero commute, low overhead — and if you set it up correctly, clients feel the same professionalism they'd get in a suite building.
The catch is that "set it up correctly" has specific requirements. Most of them aren't expensive. All of them are necessary.
The legal foundation: permits and licensing
Before a single client crosses your threshold, you need to establish legal standing. The requirements vary by state, but the baseline is consistent.
Step one: check your state cosmetology board. A handful of states restrict or prohibit home-based esthetic practice. California, for example, requires that home studios meet the same facility standards as commercial salons — dedicated ventilation, plumbing, and signage requirements that are genuinely difficult in a residence. Most states are more permissive but still require inspection. Look up your state board's home facility requirements before you spend anything on setup.
Step two: get a home occupation permit. Most cities and counties require this for any home-based business that receives clients. The application process is usually straightforward — a form, a small fee ($25–100), and sometimes a zoning review. Approval is generally granted for low-traffic professional services. The permit requirement is usually: no more than X clients per day, no exterior signage, no employees working on-site.
Step three: verify your homeowner's or renter's insurance covers business activity. Standard residential policies explicitly exclude business use. A home-based business rider or a standalone professional liability policy fills that gap. The professional liability policy you need as an esthetician (from ASCP, Associated Skin Care Professionals, or Hiscox) typically covers both professional and general liability at $35–55/month. Get this before your first client.
Step four: post your license. Required everywhere. Frame it. Put it in a visible location in your treatment room.
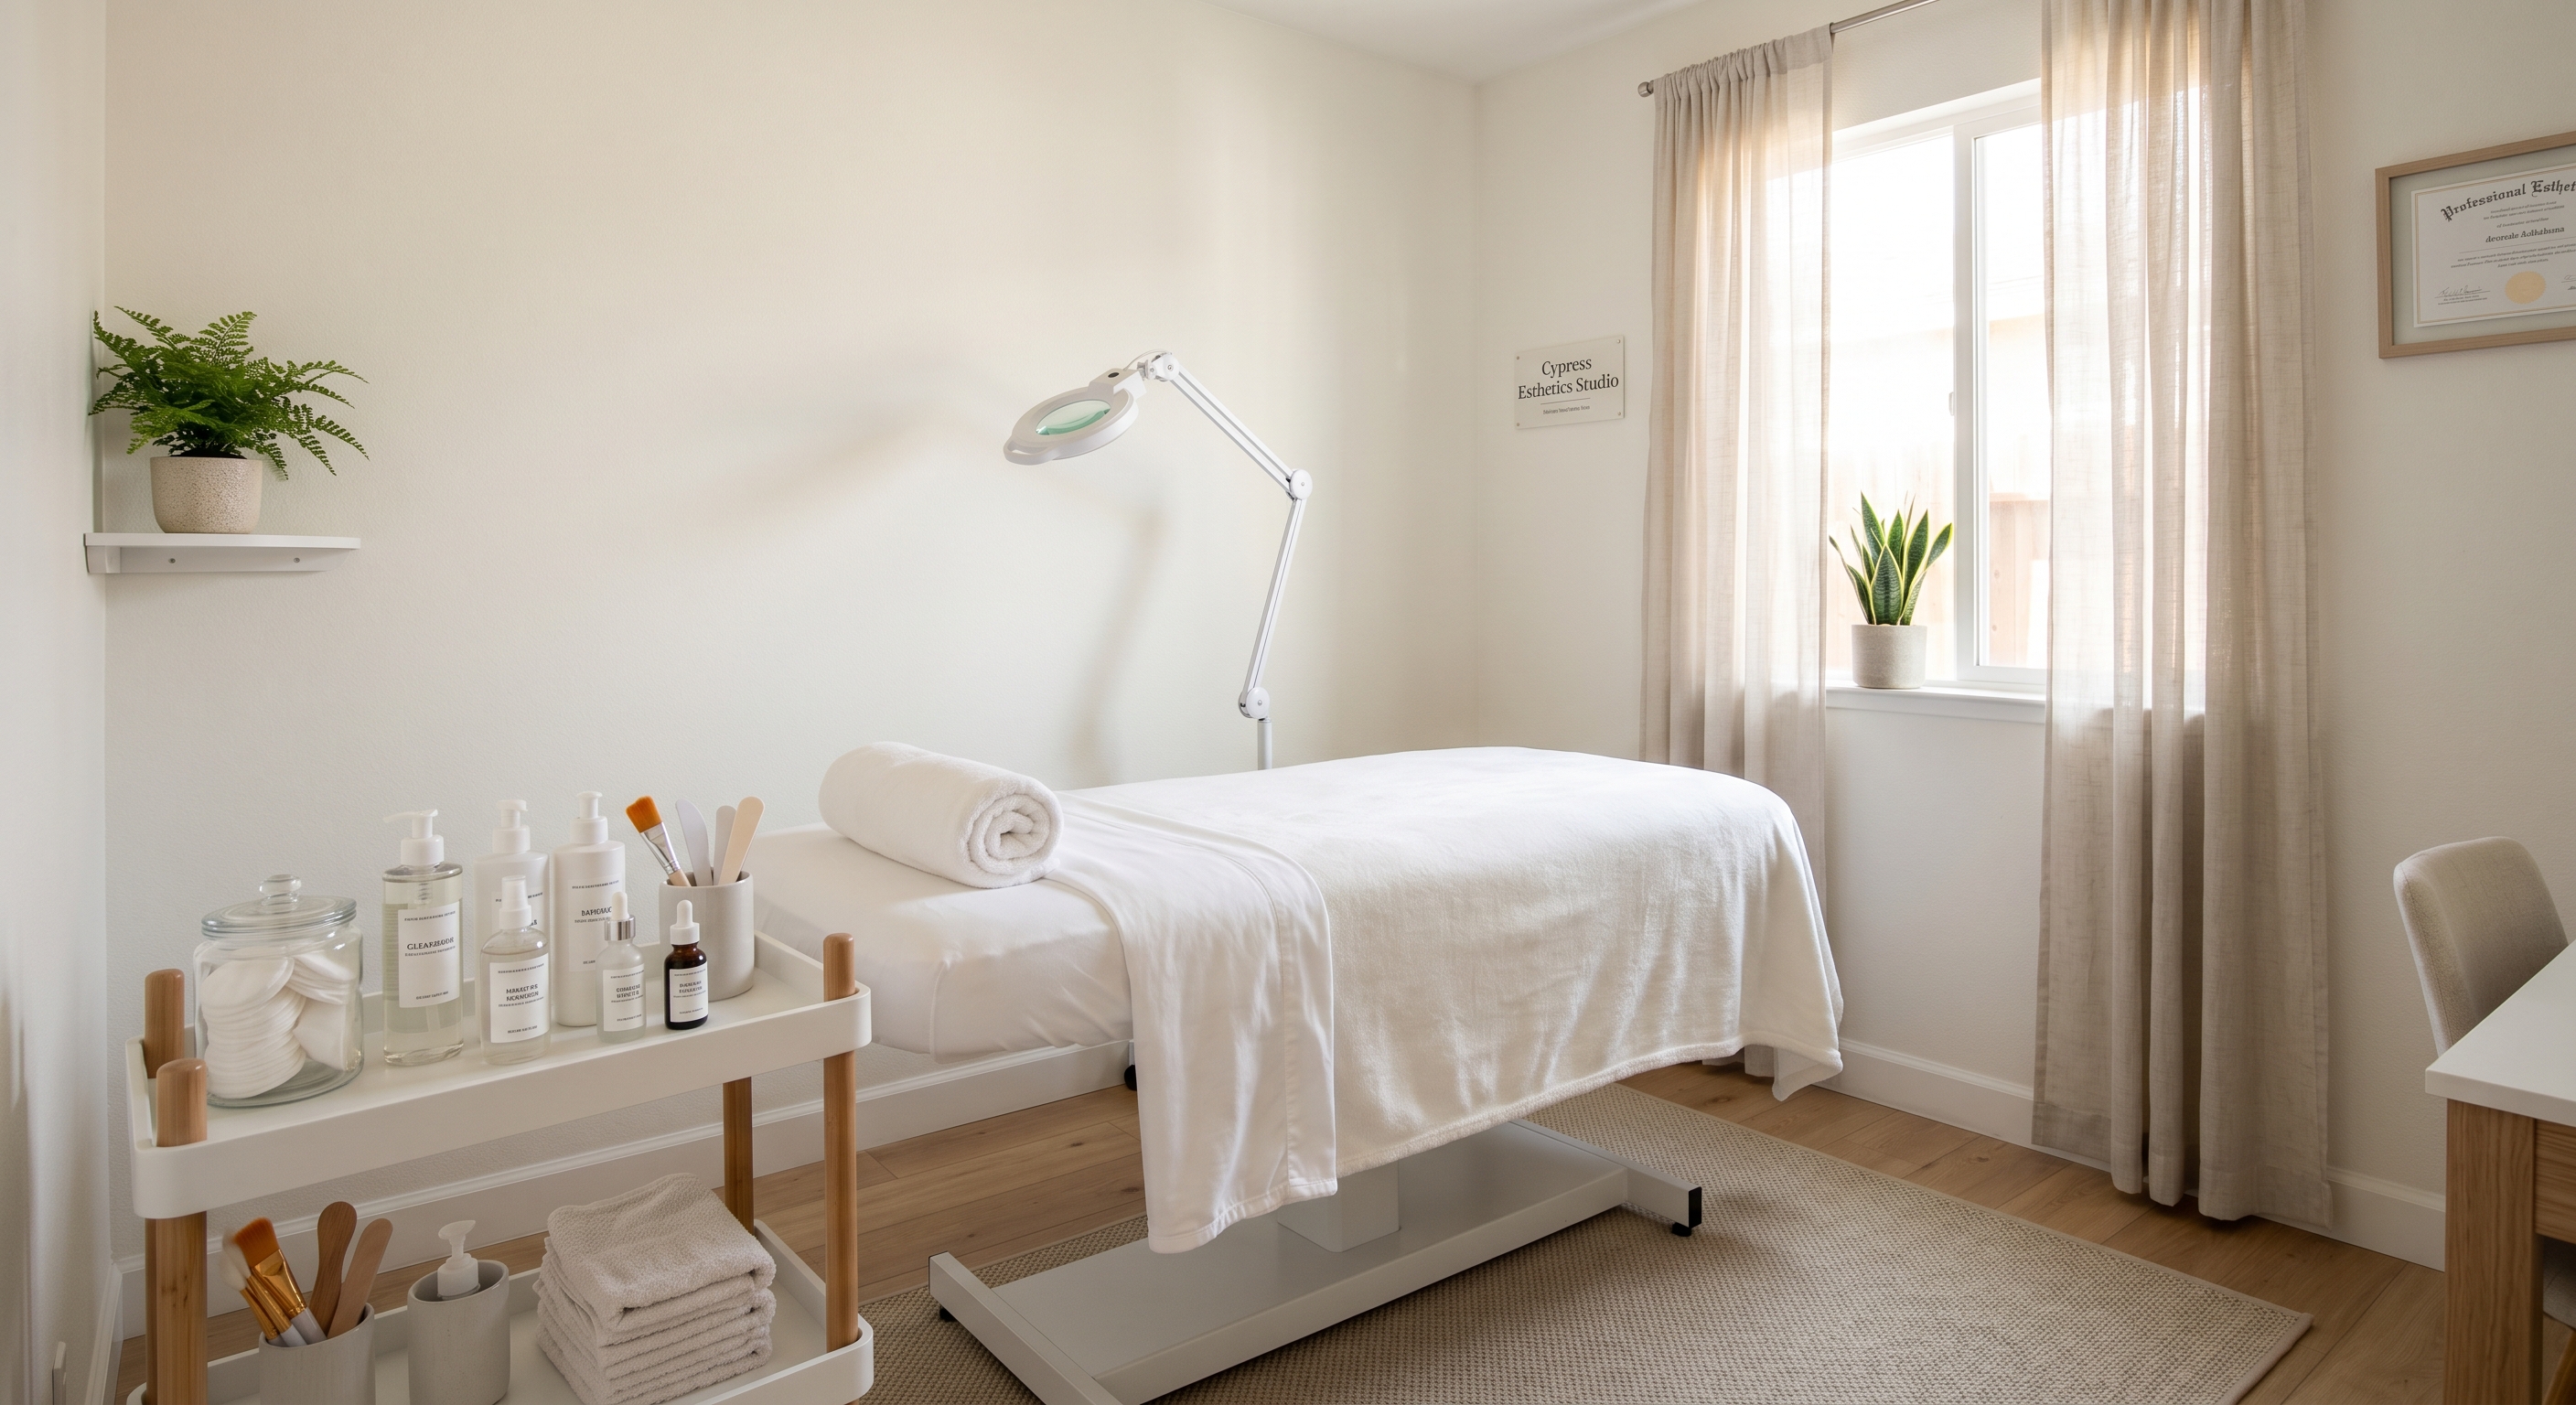
Room selection and setup
The ideal home studio has one feature above all others: a dedicated, separate-entry room. This means clients can arrive, enter your treatment space, and leave without passing through your living room, kitchen, or any personal living area.
If you don't have a separate entrance, a clean, professional path to the treatment room matters more than a separate door. That means: nothing personal visible in the path from front door to treatment room. No family photos on the way in. No dishes in the sink clients walk past. Professional signage or branding at the entrance if your permits allow it.
Room size: a functional treatment room needs 80–100 square feet minimum. That fits a treatment table with working clearance on three sides (at least 24 inches on each side and the foot end), a rolling stool, a utility cart, and basic storage. Anything smaller and you're working in uncomfortable proximity to every wall.
Flooring: hard floor is strongly preferred. Carpet is a sanitation liability — it holds product residue, stains, and can't be properly disinfected. If your target room has carpet, a vinyl plank flooring installation ($200–400 for a small room) is worth it.
Lighting: your steamer/magnifying lamp combo handles analysis lighting. You'll also want ambient lighting you can dim — harsh overhead lighting during mask time is uncomfortable for clients. A dimmable LED floor lamp or a secondary lamp on a dimmer switch solves this for $30–60.
Ventilation: chemical peels produce fumes that accumulate in enclosed spaces. A small window or a ventilation fan on a switch is required for any room where you're doing peel work. Not optional, and not just for client comfort — it's a chemical safety issue.
Studio Starter
Skip the research.
A menu priced for your city, a shopping list built around what you already have, and your first three months projected. In three minutes.
Build my plan →Sanitation and infection control
Home studios are subject to the same sanitation standards as commercial facilities. The difference is that you're your own inspector. Hold yourself to the standard regardless.
Surface disinfection: all treatment surfaces (table, cart, rolling stool) must be wiped down with an EPA-registered hospital-grade disinfectant between every client. Barbicide concentrate is the standard; Cavicide disinfectant wipes are faster for surfaces. Keep them accessible, not in a cabinet.
Tool sanitization: metal tools used in extractions (comedone extractors, lancets) must be autoclaved or single-use. If you don't have an autoclave sterilizer, single-use tools are the safer protocol for a home setting. Disposable lancets, single-use fan brushes, and individually packed cotton rounds keep your sanitation protocol tight without requiring sterilization equipment.
Laundry: all linens (table sheets, face towels, spa wraps) must be washed in hot water with detergent between uses. For a home studio doing five clients per day, you'll run laundry daily or have enough sets to rotate. White microfiber is the right choice — you can bleach it, which no other color option allows.
Hand washing: a sink within or immediately adjacent to the treatment room is the professional standard. If your room doesn't have a sink, a portable hand washing station or hand sanitizer dispenser at the door handles it, but confirm this meets your state board's requirements.
Client flow: the experience from arrival to checkout
The home studio experience either feels like visiting a private practitioner or like sitting in someone's spare bedroom. The difference is almost entirely in the intentionality of the setup.
Arrival: a clean, clear path to your room. Any personal items out of sight. A small sign or nameplate at the entrance point (where permitted) signals that this is a business. Soft music audible from the entry area. These aren't expensive details — they're deliberate ones.
Waiting area: you don't need a formal reception area. A chair and a small table near your treatment room entry, with a water station or a small beverage offering, handles the three to five minutes a client may wait before you're ready.
Checkout: handle checkout and rebooking before the client leaves your space — not via text later. A tablet or phone with your booking software lets you process payment and schedule the next appointment while they're standing with you. This is where rebooking happens. "I'd love to see you in four weeks — I have [specific options]." Close it in person.
Privacy: clients coming to a home need to trust that the environment is as private as a commercial setting. This means: no family members visible or audible during appointments, no pets in or around the treatment space, no interruptions. If your household can't reliably provide this during your working hours, a home studio isn't the right choice.
What a home studio costs vs. a suite
The financial case for a home studio is clearest in the first year. A mid-market suite rental runs $250–350/week — $13,000–18,200/year. Your home studio's incremental cost is essentially zero beyond your initial equipment setup.
That $13,000–18,200 difference directly improves your profitability. An esthetician running a home studio with 15 clients/week at $130 average is netting almost everything above product cost and insurance — roughly $7,500–8,500/month versus $6,000–7,000/month in a suite.
Year-one impact: The $13,000–18,200 you save on suite rent is roughly equivalent to 3–4 months of your own salary. That's the compounding advantage of a home studio in the first year.
The tradeoff is the professional separation and zero-maintenance operation that a suite provides. For a detailed comparison of all three setup options, see esthetician suite vs. booth vs. home studio.
A home studio run with professional standards is indistinguishable from a suite practice in client experience. The clients who matter — the ones who book because of your skills, your reviews, and the experience you deliver — don't care that you work from home.
Your cosmetology program probably didn't cover the permits, the zoning, or the setup details. Those were easy to learn. What matters is whether you set it up right before the first client walks in.
Use Prella to build your home studio starter list — the same tool, calibrated to your specific services and market, gives you a priced equipment list so you know exactly what you're spending before you order anything.
Links may earn us a small commission at no cost to you.
Your studio, planned in three minutes.
Free, no account, nothing to cancel. Your menu priced for your city, and exactly what to buy next.
Build my plan →